
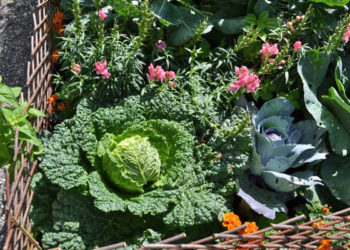
Growing garlic in the fall can be a rewarding experience for gardeners of all levels. Not only is garlic a tasty and versatile ingredient in a variety of dishes, but it is also relatively easy to grow and can be a valuable addition to any fall garden. If you’re considering planting garlic this season, read on for tips on how to get started and what to expect as your garlic grows.
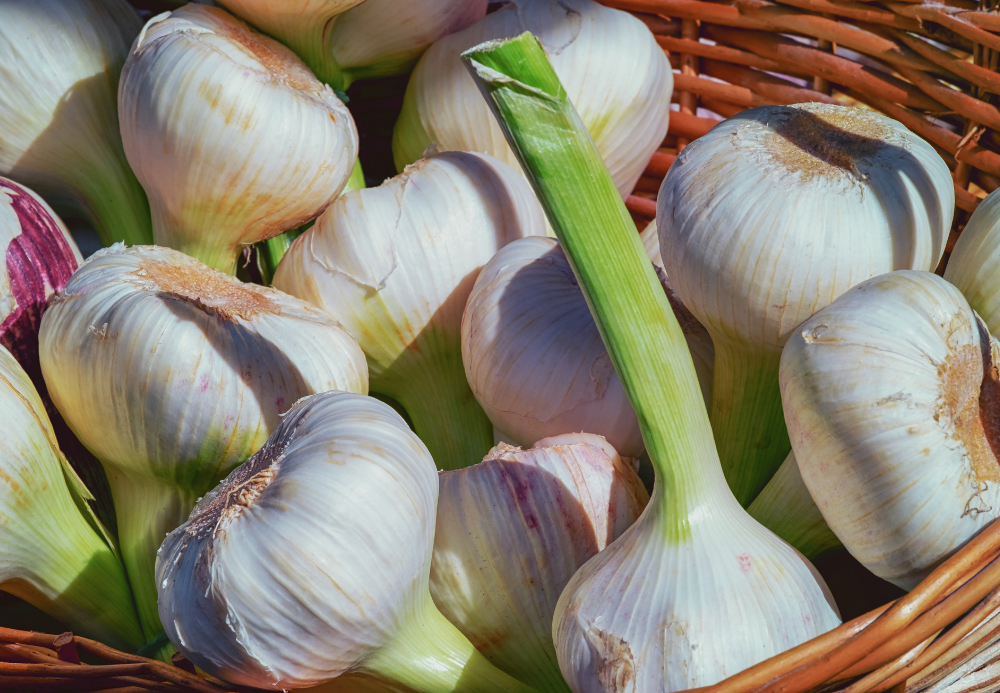
One of the first things to consider when growing garlic in the fall is the type of garlic you want to plant. There are two types of garlic: hardneck and softneck. Hardneck garlic is generally considered to be more flavorful and easier to peel than softneck garlic, but it is also more sensitive to disease and has a shorter shelf life. It is best suited for cooler climates with long, cold winters and short, cool summers. Softneck garlic is more adaptable and can be grown in a wider range of climates, including warmer regions. It has a longer shelf life and is more tolerant of disease, but it is not as flavorful as hardneck garlic and can be more difficult to peel.
Garlic is a hardy root vegetable. In most cases, it will perform much better when subjected to severe winter conditions. Many varieties prove to be the most flavorful following a harsh winter. So, the trick when growing garlic is to plant early enough for the seeds (cloves/sets) to establish a good root system. But not so early that the plants have time to send up mature shoots before the onset of winter halts growth completely. A little above-ground growth won’t hurt, but you don’t want the formation of bulbs to start. The experts suggest planting your garlic seeds 4 to 6 weeks before the first hard freeze in your area. You can find your first frost dates here.
What Next?
Loosen and prepare your soil with compost or organic material worked in. This will provide suitable nutrition and give your fall-planted garlic a healthy start. Plant the garlic clove with the root end facing down, about 4 to 8 inches apart and 2 to 3 inches deep. Garlic cloves planted closer together will produce smaller bulbs in greater numbers. Those planted farther apart will produce fewer bulbs but with larger cloves. Once the ground freezes, cover the entire bed with 3 to 4 inches of leaves or hay, avoiding straw, as mites found in straw can attack the garlic. This will conserve moisture, provide insulation and control weed growth until spring arrives.
Now What?
You wait. Sit in front of the fire. Make snowmen with the kids. Indulge in evenings with hot cocoa and good movies and just when you think winter couldn’t last any longer, spring will arrive. And you will already have done the hard part when it comes to your garlic crop.
Now, gently rake the leaves or straw off the new sprouts popping up. Apply some organic fertilizer and harvest when ready! In wetter areas, you may not want to mulch throughout the season. But if it dries out, re-mulching will help to conserve moisture, control weed growth and moderate soil temperatures. Garlic does not appreciate competition in the form of weeds or grass. Nor does it care for hot summer temperatures, so adapt these suggestions as needed for your particular area.
As for watering, garlic requires somewhat even moisture throughout the season, though it is better to let it dry out some during the last few weeks before harvesting. Not enough watering will result in undersized bulbs, while too much watering affects the storage quality of the bulbs, shortening garlic’s shelf life. It is better to stop watering earlier than to overwater later.
Growing Garlic: When Can I and How Do I Harvest?
The time to harvest will vary. It depends upon your zone and the growing conditions of any particular season. The only sure way to know is to regularly check the bulbs, feeling for the bumps of the cloves through the wrappers of the mature bulbs. Most gardeners will harvest starting in July, with the lion’s share being harvested in mid-to-late August. This is one crop with no set times; your experience, and trial and error, are the best gauges.
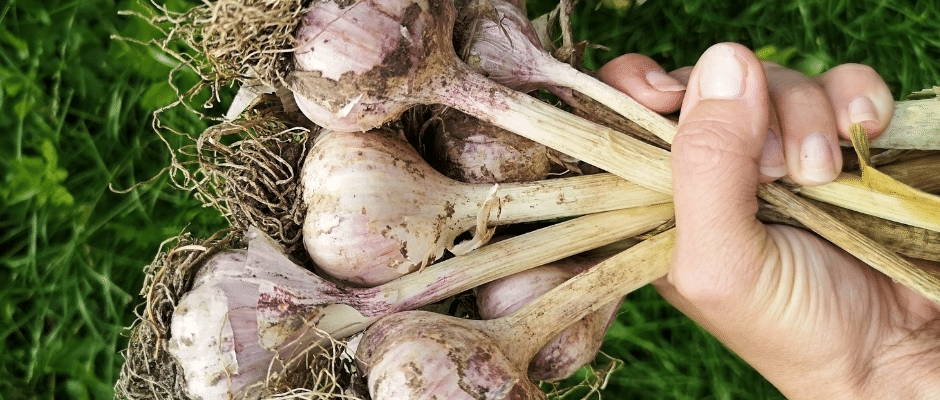
Garlic does bruise kind of easily, so be careful when harvesting. Use a flat, narrow-bladed shovel to loosen the soil around the plants, and then lift the plants by hand. If harvesting on a sunny day, the bulbs can actually become sunburned, with some varieties changing flavor in the sun. Move your garlic bulbs to a cooler location, out of direct sunlight as you harvest.
Enjoy!
If you’ve harvested young or new season, immature garlic, you will want to store it in the refrigerator. Use it within a week or so. These cloves will have a more subtle flavor and can be used as you would leeks or onions. For mature garlic, you will want to dry it well, after washing the bulbs and roots. You can hang the bulbs from their stalks if you wish. The area should be dry, shady and well-ventilated. The drying process taking more than a week, but it will enable you to store it for an extended period.
Excited to start your very own garlic patch? Check out our selection here and get growing!
2 Comments
David Widmer
November 8, 2012 at 10:32 amI’ve planted my garlic according to the planting-time “map” furnished by U. Maine. Alas!! The shoots have already come up! about 6-8 inches high. First snow came last night (Nov. 7, ’12). Have I lost my crop? Anything I can do now?
Would appreciate your reply, with thanks,
David N. Widmer
Brunswick,ME
jstutzman
November 13, 2012 at 9:55 amDavid, congratulations on your garlic crop! What you need to do is cover the plants with 6-10 inches of straw. In the spring, you can uncover them.